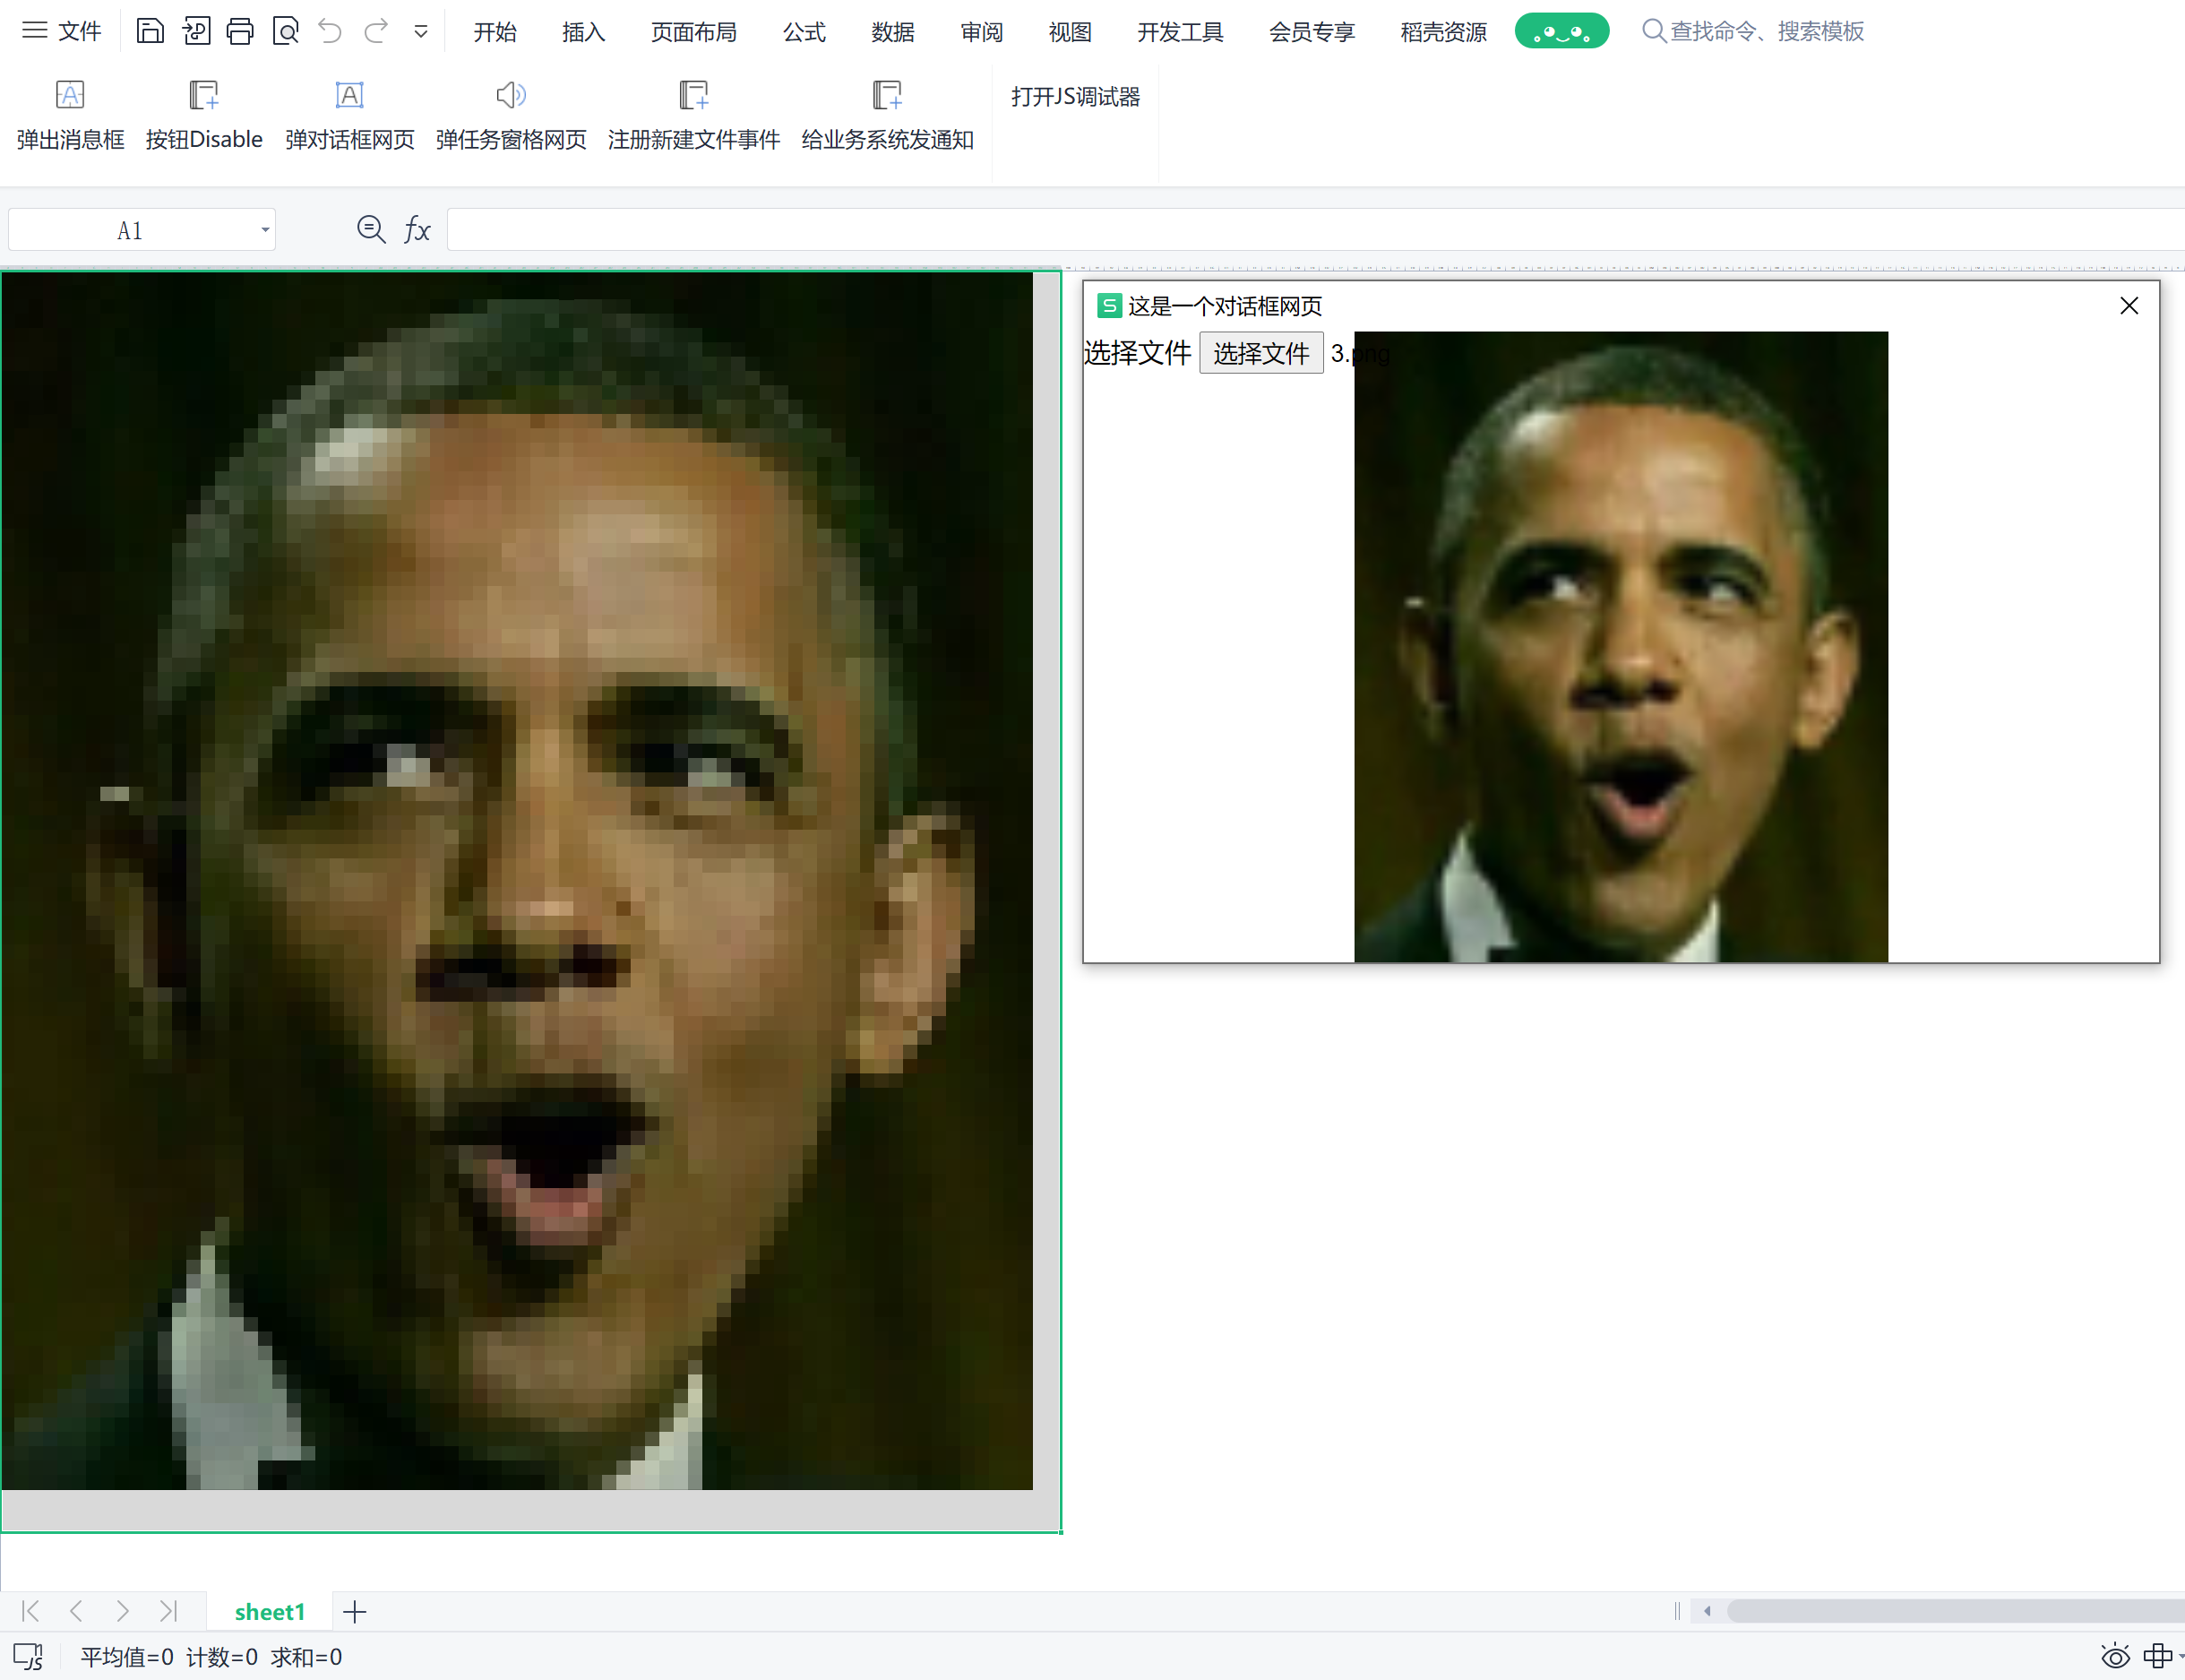
1
2
3
4
5
6
7
8
9
10
11
12
13
14
15
16
17
18
19
20
21
22
23
24
25
26
27
28
29
30
31
32
33
34
35
36
37
38
39
40
41
42
43
44
45
46
47
48
49
50
51
52
53
54
55
56
57
58
59
60
61
62
63
64
65
66
67
68
69
70
71
72
73
74
75
76
77
78
79
80
81
82
83
84
85
86
87
88
89
90
91
92
93
94
95
96
97
98
99
100
101
102
103
104
105
106
107
108
109
110
111
112
113
114
115
116
117
118
119
120
121
122
123
124
125
126
127
| <template>
<div class="dialog-image">
<label>
选择文件
<input type="file" id="file">
</label>
<canvas id="cvs"></canvas>
</div>
</template>
<script>
export default {
name: 'Dialog',
data() {
},
mounted() {
const $cvs = document.querySelector('#cvs')
const pageWidth = window.innerWidth
const pageHeight = window.innerHeight
const maxWidth = 200
const maxHeight = 200
const ctx = $cvs.getContext('2d')
document.querySelector('#file').onchange = e=>{
const file = e.target.files[0]
const reader = new FileReader()
reader.onload = e=>{
const $img = new Image()
$img.onload = e=>{
let imgWidth = $img.width
let imgHeight = $img.height
let ratio = 1
if (imgWidth > maxWidth) {
ratio = maxWidth / imgWidth
imgWidth = maxWidth
imgHeight *= ratio
}
if (imgHeight > maxHeight) {
ratio = maxHeight / imgHeight
imgHeight = maxHeight
imgWidth *= ratio
}
$cvs.width = imgWidth
$cvs.height = imgHeight
ctx.drawImage($img, 0, 0, imgWidth, imgHeight)
this.draw2wps(ctx, imgWidth, imgHeight)
}
$img.src = e.target.result
}
reader.readAsDataURL(file)
}
},
methods: {
draw2wps(ctx, cvsWidth, cvsHeight) {
const imageData = ctx.getImageData(0, 0, cvsWidth, cvsHeight)
const imageDataContent = imageData.data
const size = 10
let x
let y
let cell
let r
let g
let b
for (x = 0; x < cvsWidth; x++) {
cell = wps.ActiveSheet.Cells.Item(x + 1, 1)
cell.ColumnWidth = size
cell.RowHeight = cell.Width
}
for (y = 0; y < cvsHeight; y++) {
cell = wps.ActiveSheet.Cells.Item(1, y + 1)
cell.ColumnWidth = size
cell.RowHeight = cell.Width
}
let pos
for (y = 0; y < cvsHeight; y++) {
for (x = 0; x < cvsWidth; x++) {
pos = y * cvsWidth + x
r = imageDataContent[pos * 4]
g = imageDataContent[pos * 4 + 1]
b = imageDataContent[pos * 4 + 2]
if (imageDataContent[pos * 4 + 3] < 125) {
r = g = b = 255
}
const color = this.getLongColor(r, g, b)
cell = wps.ActiveSheet.Cells.Item(y + 1, x + 1)
cell.Interior.Color = color
}
}
},
getLongColor(r, g, b) {
return r + g * 256 + b * 256 * 256
},
},
}
</script>
<style lang="scss">
.dialog-image {
font-size: 15px;
min-height: 95%;
label {
position: absolute;
left: 0;
top: 0;
z-index: 2;
}
canvas {
position: absolute;
left: 0;
top: 0;
width: 100%;
height: 100%;
object-fit: contain;
z-index: 1;
}
}
</style>
|
